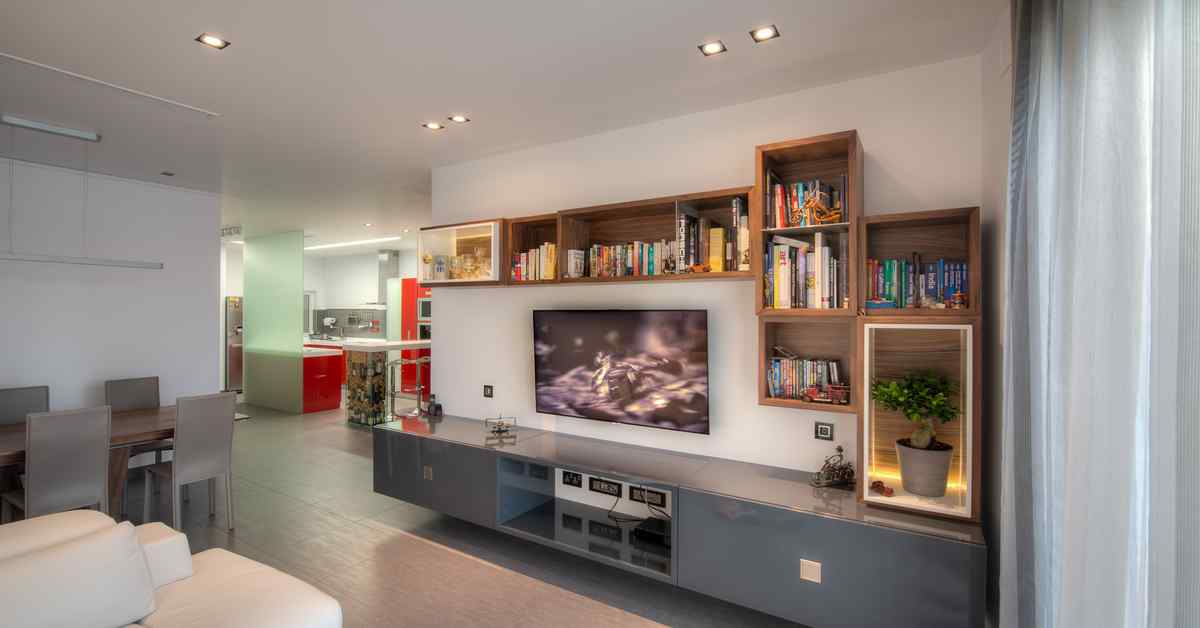
TV wall mounting can greatly enhance the aesthetics of your living space and provide a more immersive viewing experience. Whether you’re mounting a flat-screen TV in your living room, bedroom, or home theater, it’s essential to follow the proper steps for a secure and professional installation. In this guide, we’ll walk you through the process of mounting your TV on the wall correctly.
Tools and Materials You’ll Need:
Before you begin, gather the following tools and materials:
- TV Wall Mount Bracket
- Screwdriver
- Level
- Stud Finder
- Power Drill
- Tape Measure
- Pencil
- Wall Anchors (if necessary)
Step 1: Choose the Right Location
- Start by selecting the ideal location for your TV. Consider factors such as viewing height, seating arrangement, and the location of power outlets and cable connections.
- Use a pencil to mark the spot where you want the center of the TV screen to be. Ensure it’s at a comfortable eye level when seated.
Step 2: Find Wall Studs
- Use a stud finder to locate the wall studs behind the drywall. Mounting your TV on wall studs provides the necessary support to hold the weight of the TV.
- Mark the center of each stud with a pencil. This is where you’ll attach the wall mount bracket.
Step 3: Attach the Wall Mount Bracket
- Align the wall mount bracket with the marks you made for the center of the studs.
- Use a level tool to ensure that the bracket is perfectly horizontal. Adjust as needed.
- Use a power drill to attach the bracket to the wall studs securely. Use the appropriate screws provided with your wall mount kit.
Step 4: Mount the TV
- Enlist the help of a friend to lift the TV and hang it on the wall bracket.
- Carefully align the mounting holes on the back of the TV with the arms of the wall mount bracket.
- Once aligned, gently lower the TV onto the bracket until it clicks into place.
Step 5: Secure the TV
- Check to ensure that the TV is securely attached to the wall bracket.
- Tighten any screws or locking mechanisms provided by the wall mount kit to prevent the TV from accidentally falling.
Step 6: Connect Cables
- Connect all necessary cables, such as HDMI, power, and audio, to your TV.
- Ensure that the cables are neatly routed and not pinched or stressed, as this can damage the cables or the TV.
Step 7: Conceal Wires
- To maintain a clean and organized look, use cable covers or clips to conceal the wires running from your TV to your media devices.
- These are available in various colors and styles to match your décor.
Step 8: Test Your Setup
- Before finishing up, turn on your TV and ensure that all connections are working correctly.
- Check for any issues with picture or sound quality.
- Adjust the TV angle if necessary to optimize your viewing experience.
Step 9: Enjoy Your Wall-Mounted TV
With your TV securely mounted on the wall and all cables neatly concealed, sit back, relax, and enjoy your new entertainment setup. Invite friends and family over to share in the immersive viewing experience.
By following these steps, you can successfully mount your TV on the wall, creating a clean and stylish look while enhancing your overall viewing enjoyment. Remember to prioritize safety throughout the process, and if you’re unsure about any step, consult a professional installer to ensure a secure installation. Enjoy your wall-mounted TV!